
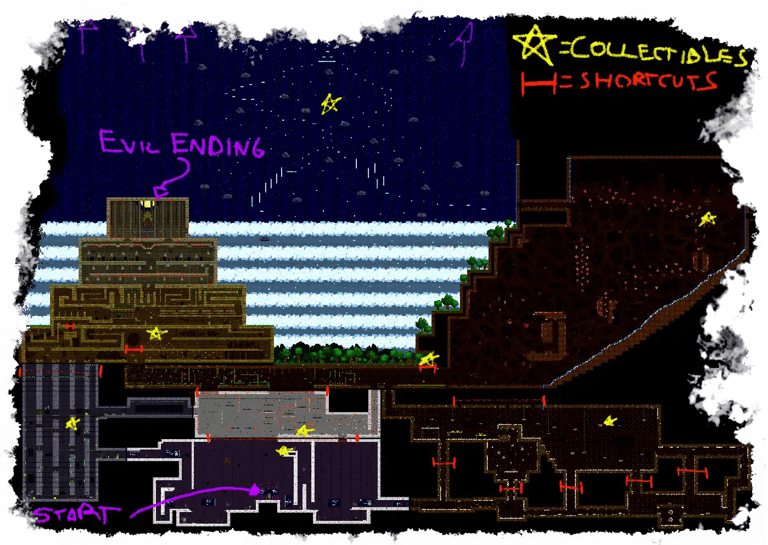
Overview


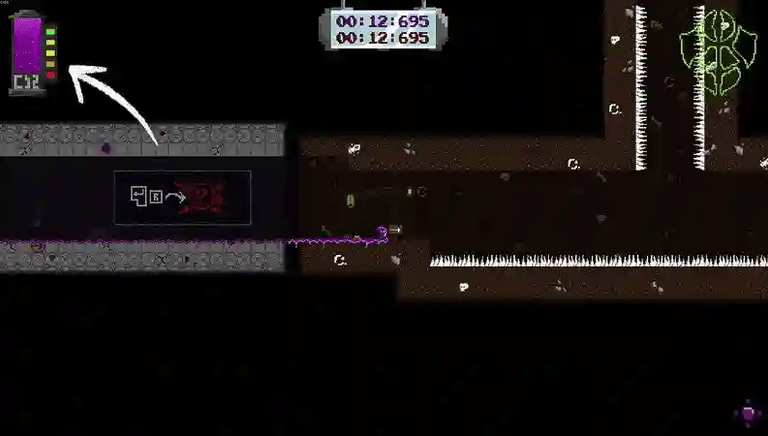
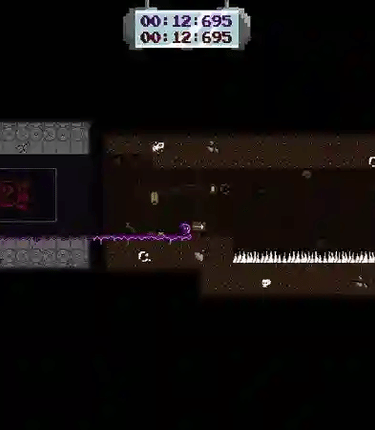
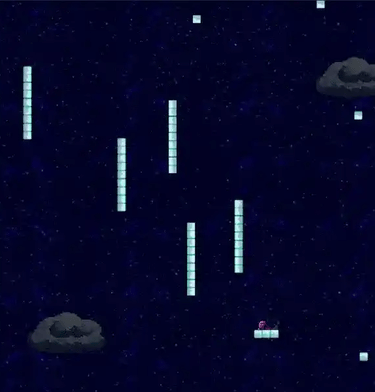
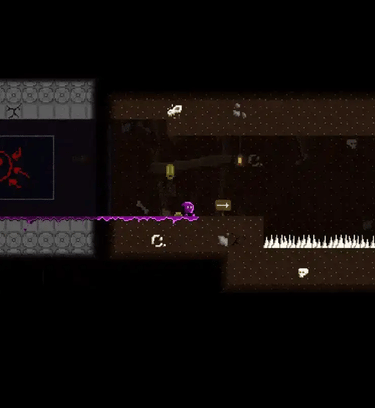
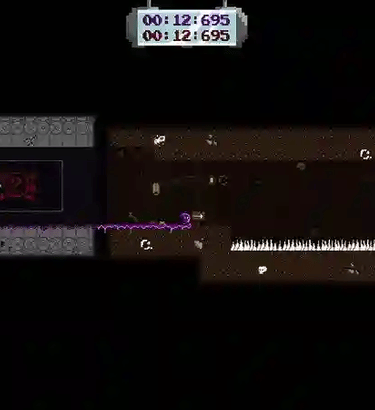
Each death spawns a platform in the direction of the fatal blow:
- Platforms are slightly larger than the player, offering landing spots, extra footing, or hazard protection.
- They persist until all lives run out and cannot be removed.
- Clever placement creates shortcuts or safe paths; careless deaths may block progress.
- Platforms are always traversable from the opposite side, keeping movement fluid.
DESIGN GOAL: Turn every death into a meaningful, skill-driven tool, giving players freedom and emergent solutions.


For a Strong Movement, I implemented the following:
- Walk, sprint, wall jump, and double jump for precise positioning and extended movement.
- Quick falls, coyote time, late jumps, and buffered inputs to ensure fairness.
- Traps have smaller hitboxes, ledges are larger, and acceleration/deceleration is near-instant for maximum responsiveness.
DESIGN GOAL: Make movement feel frenetic and precise, while keeping death recovery fast so players stay in control and the flow is uninterrupted.

Core Mechanic
Movement Basics
Health & Checkpoints
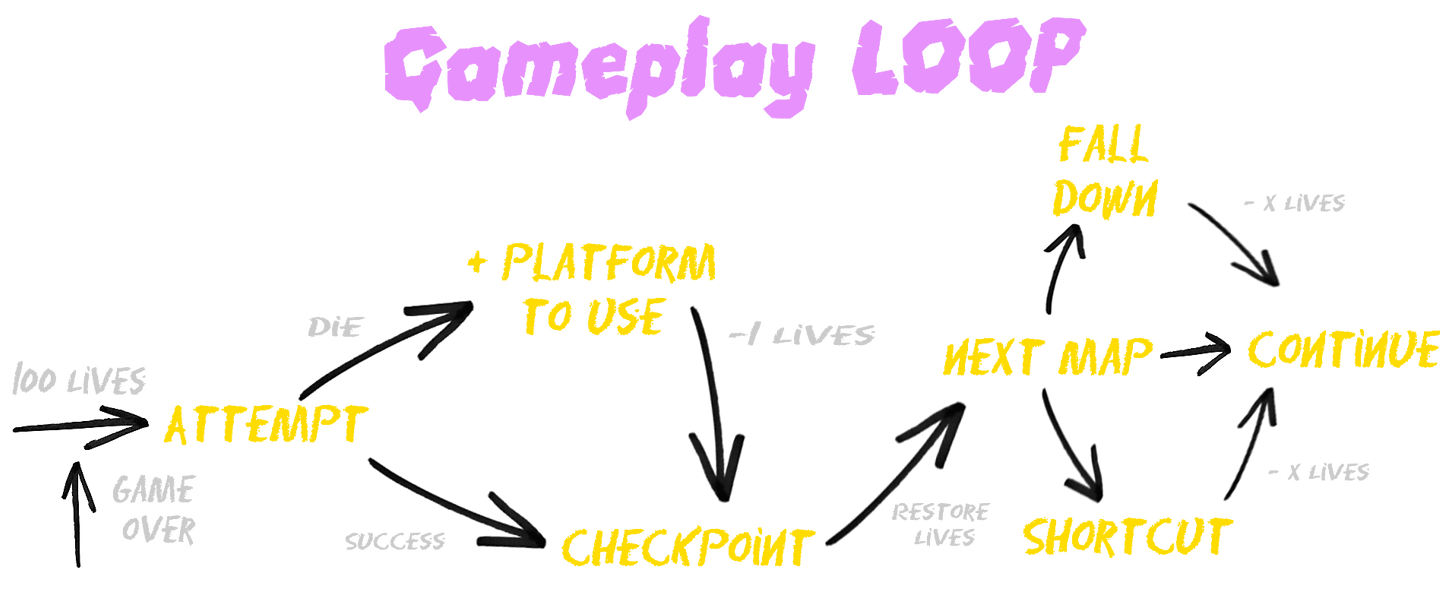
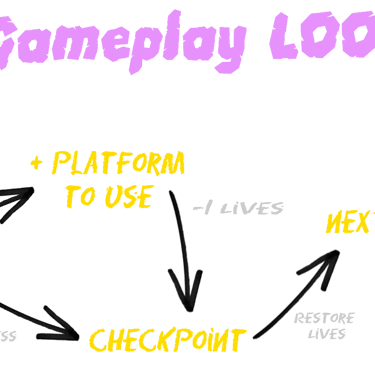
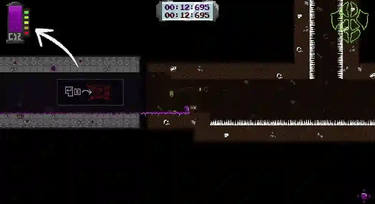
Players start with 100 lives, restored by recovery points, with % scaled to area difficulty (Hard Mode adjusts values). Noob Mode grants infinite lives while disabling achievements.
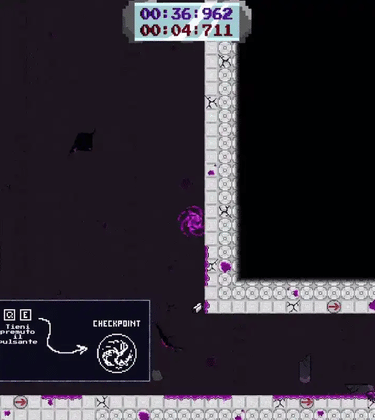
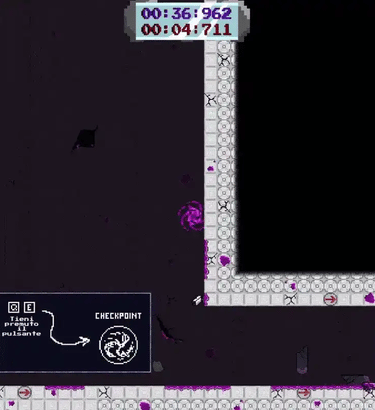
Checkpoints are player-created by spending 5 health and holding the input for 2 seconds, adding a skill-based risk–reward system that ties directly into the ReDrop mechanic.


The game loop is built around two interlinked systems: health and checkpoints; both tightly connected to the ReDrop mechanic for clear reasons.


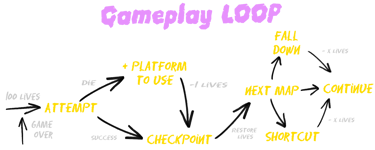
The reason checkpoints were reworked was player feedback: they felt too punishing for some and too forgiving for others.
Granting full control to the player creates that “WOW!” moment when they realize they can do what they want, the way they want, shaping fairness within an otherwise unforgiving world.
The reason the life system was designed this way is to create tension through contrast:
every death makes the path easier, yet brings you closer to reset. It is both comforting and stressful, and that moment near zero lives is where players focus and perform at their best.


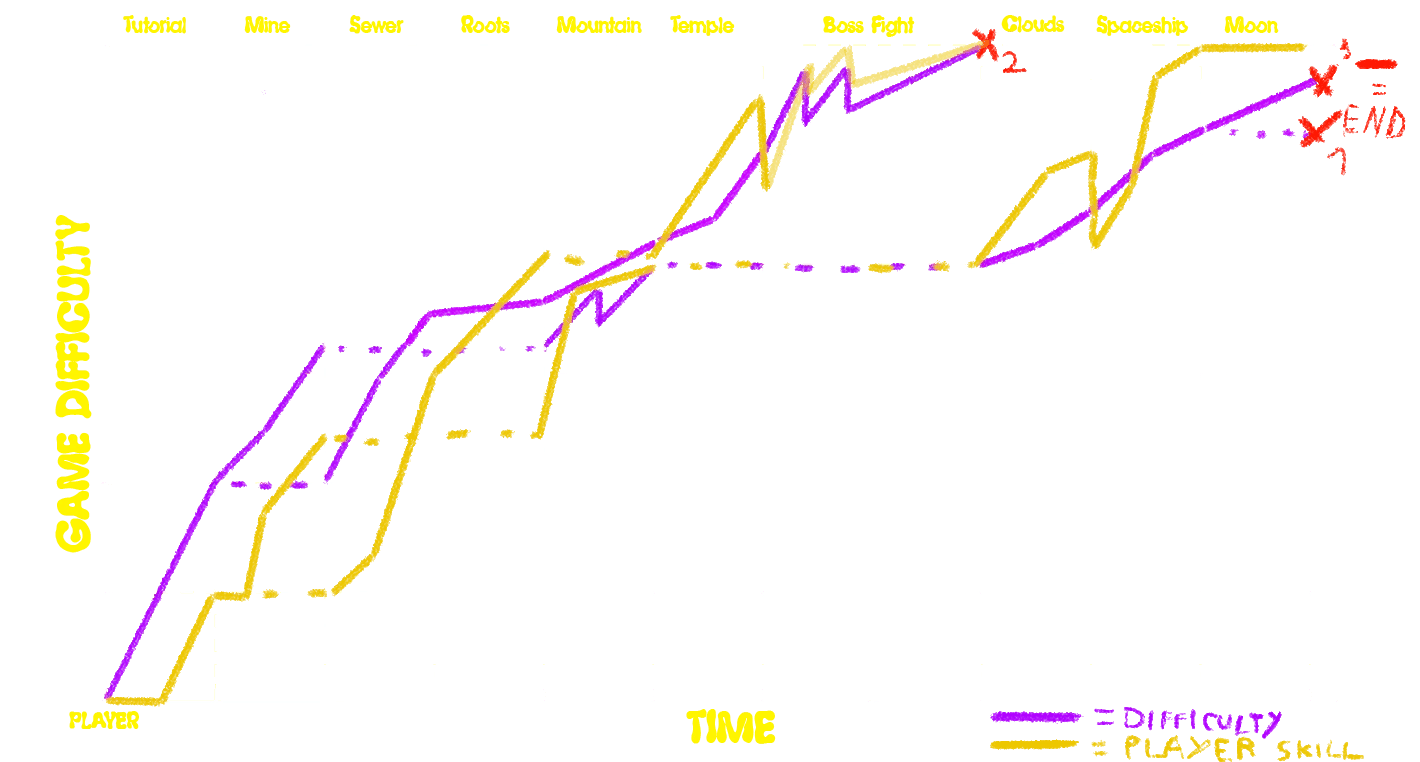
This section focuses on the design intent behind each level gimmick and how it interacts with the ReDrop mechanic.
While I handled both game and level design, the emphasis here is on systemic choices and how each idea reinforces the core mechanic rather than on layout breakdowns.
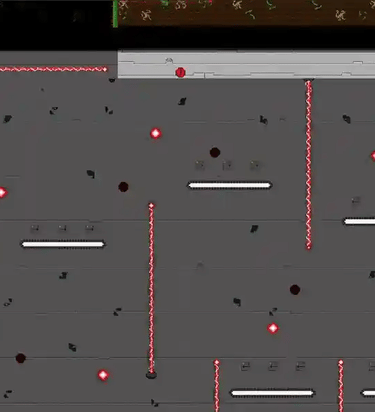
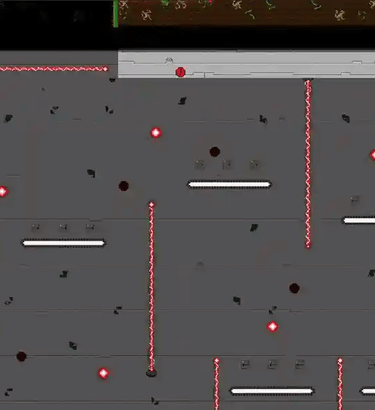

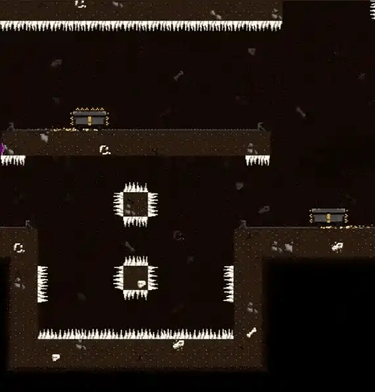
The longest stretch, built around unstable footing and pursuit pressure. Falls are recoverable, but the length creates tension, making checkpoint strategy essential.
DESIGN GOAL: Make the longest area feel tense yet manageable and at the same time frenetic and energetic
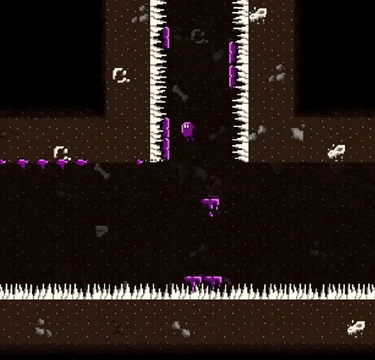
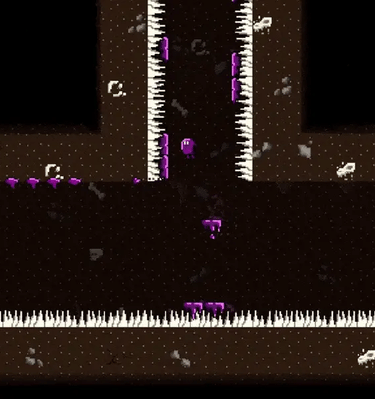
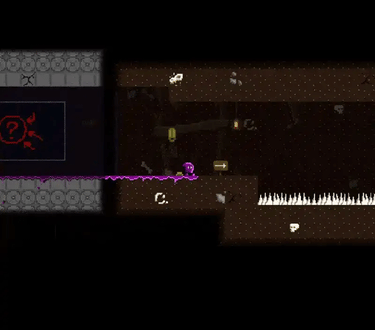
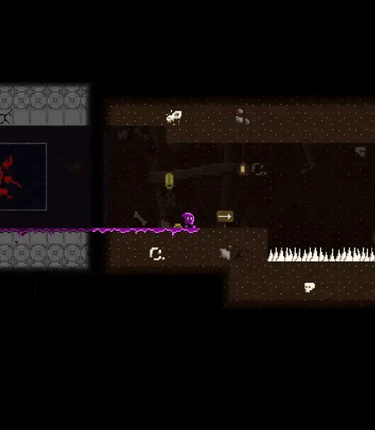
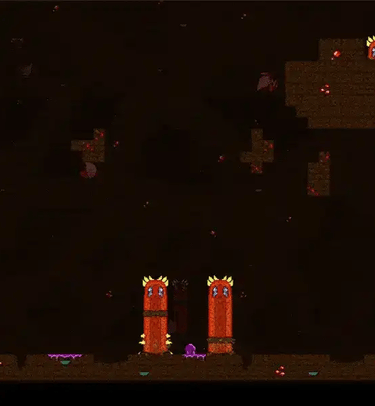
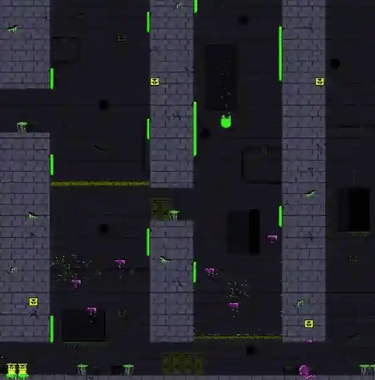
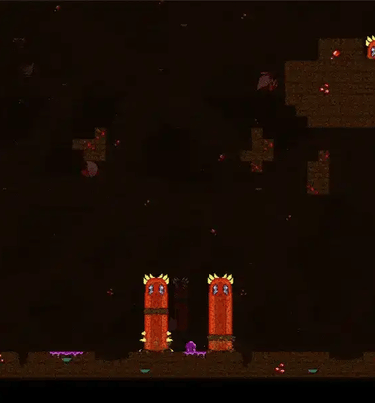
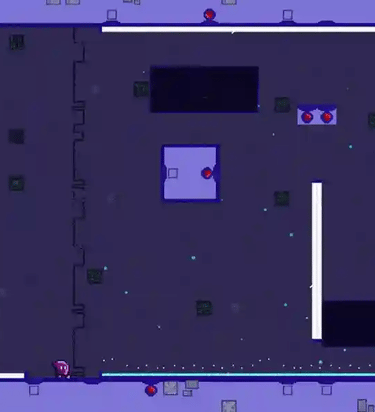
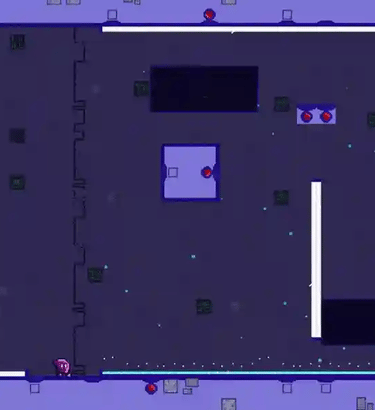
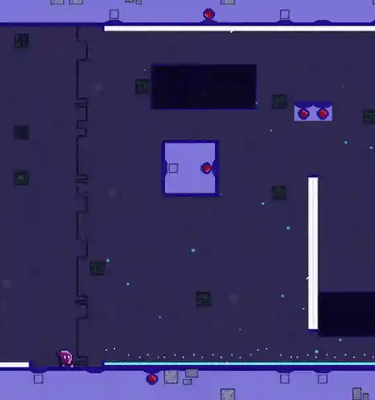
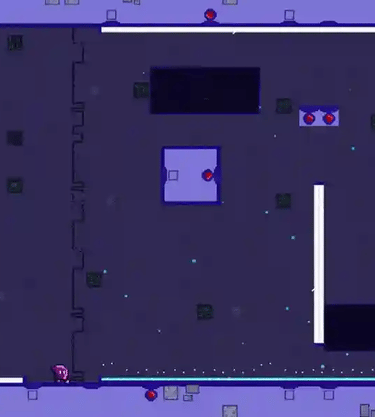
Going Right, Sewers offer a harder, vertical path for experienced players. Toxic drops act as a moving hazard, while Redrop platforms turn deaths into temporary shields.
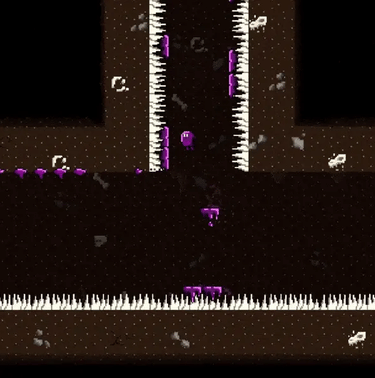
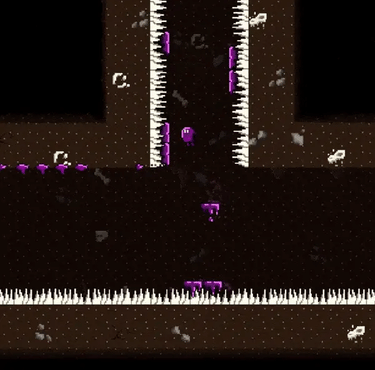
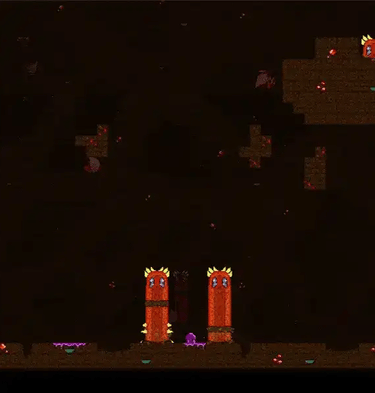
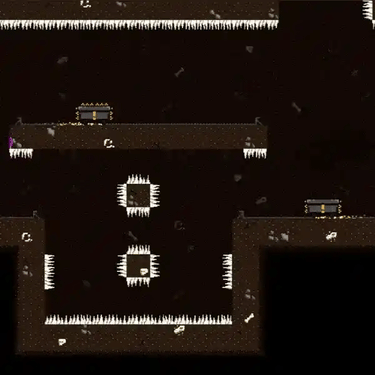
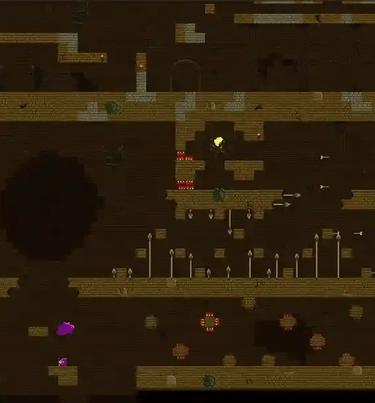
Going Left, Mines introduces the core mechanics. Spikes teach timing and distance, while moving mine carts act as dynamic platforms. Redrop platforms provide steady footing or stick to carts, preventing repeated deaths.

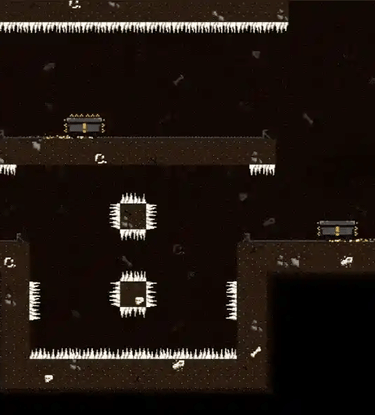


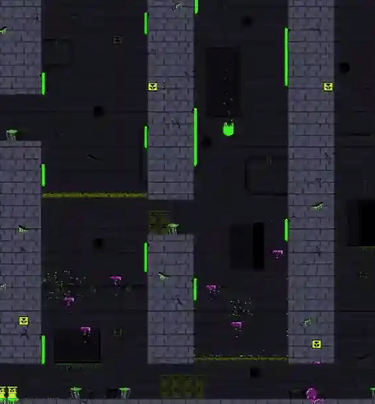


Mine - Sewers
Tutorial Levels

Mid-Game Levels


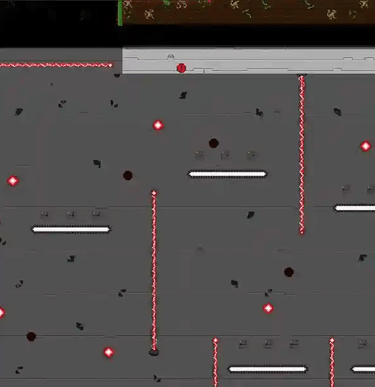
A harder shortcut built around precision. Since lasers burn Redrops, only self-inflicted deaths create safe spots, turning intent into strategy.
DESIGN GOAL: Encouraging players to use self-Redrop while offering a faster route and skill test.
An area blending vertical and horizontal mastery. Moving enemies double as traversal tools, rewarding awareness and experimentation.
DESIGN GOAL: Make the world feel alive and create moments like the “Wow, I can climb on those worms!”.
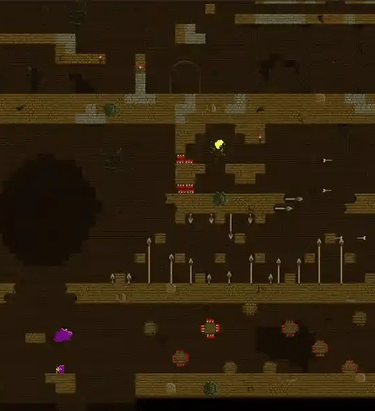
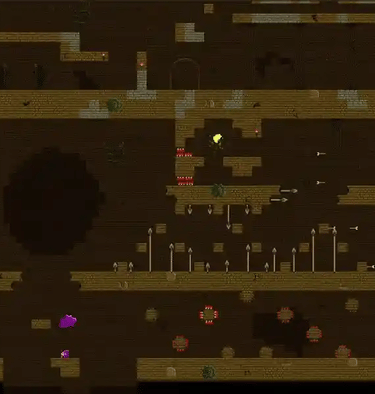
The Lasers
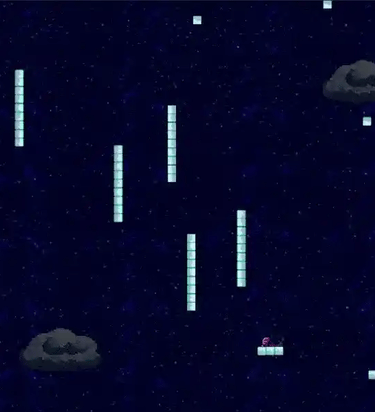
The Clouds
The Mountain
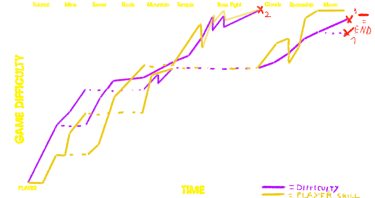
Difficulty Graph
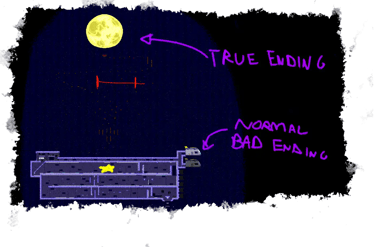
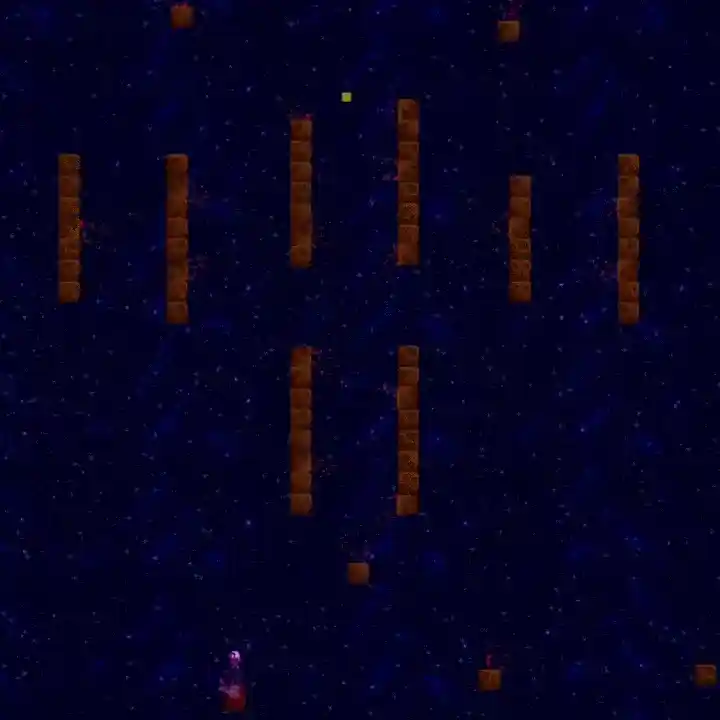
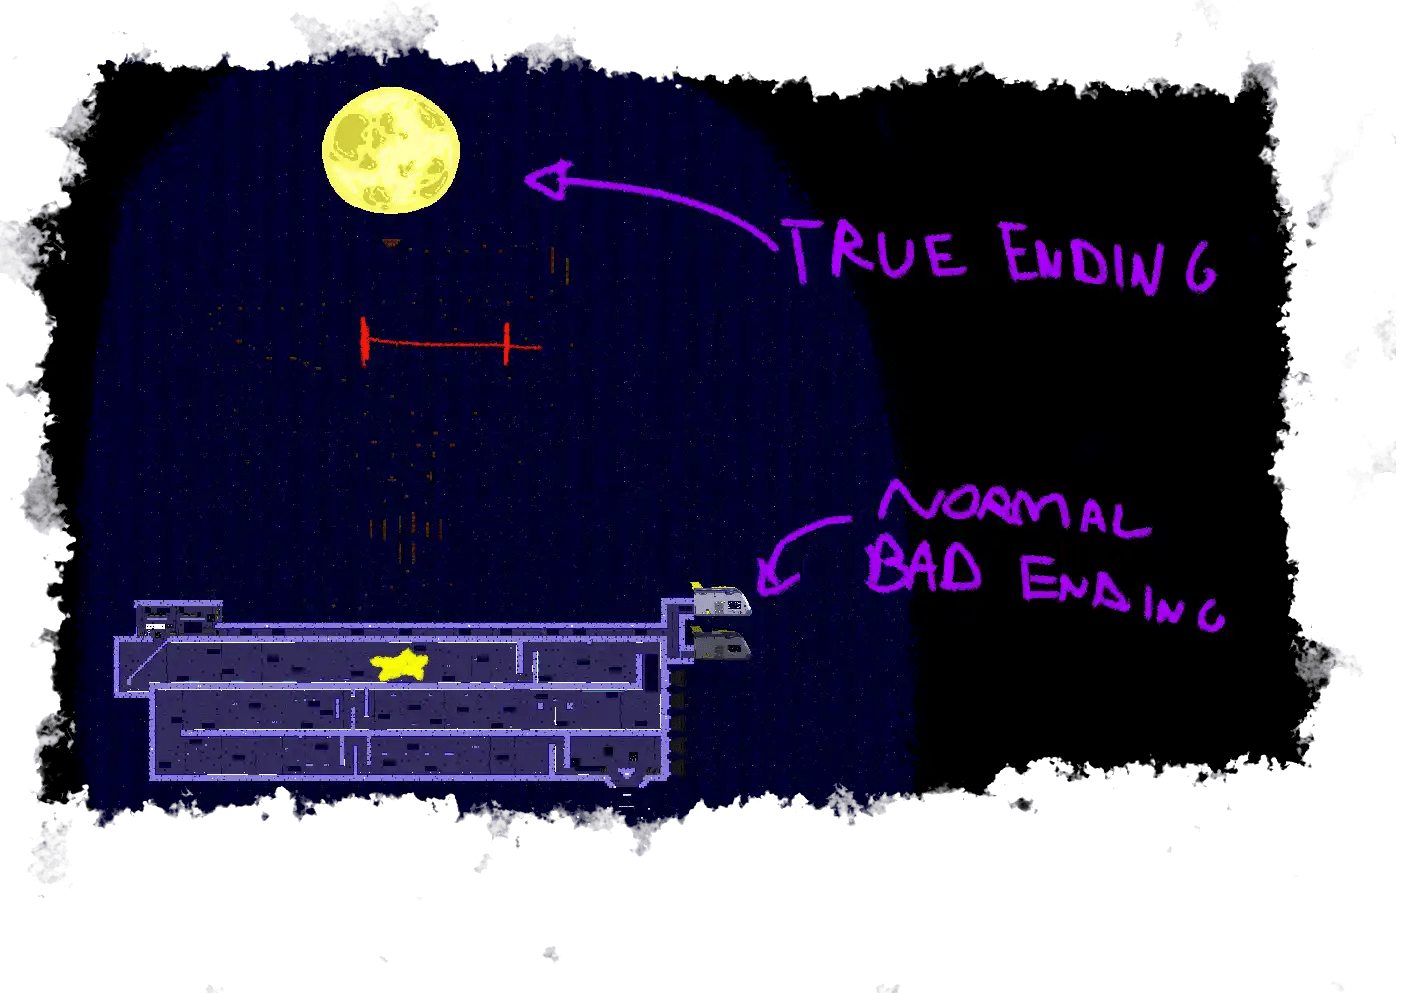
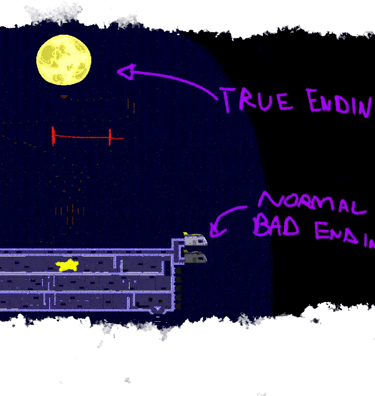
A secret map to the moon with meteorites and exploding blocks. Calm pacing, but mistakes can send players far back. [True Ending]
DESIGN GOAL: Provide a contrasting finale, relaxed yet risky, rewarding careful movement.
Final Levels


The final standard level teases future DLC, adding a fresh twist. Inverted gravity and plasma bridges create fast, risky movement. [Normal Bad Ending]
DESIGN GOAL: Create a memorable climax that challenges players and showcases new mechanics.
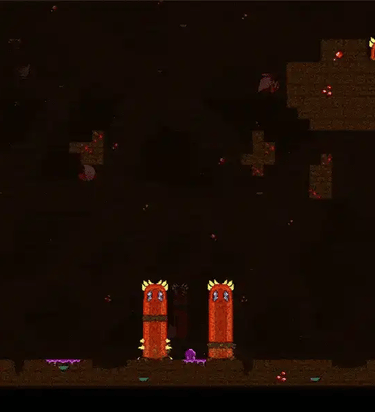
The largest, toughest area, leading to the final boss. Traps spawn Redrops on death, letting players manipulate hazards with strategy. [Evil Ending]
DESIGN GOAL: Ensure the area feels genuinely hard while sparking curiosity about what lies ahead.
The MotherShip
The Moon
The Temple
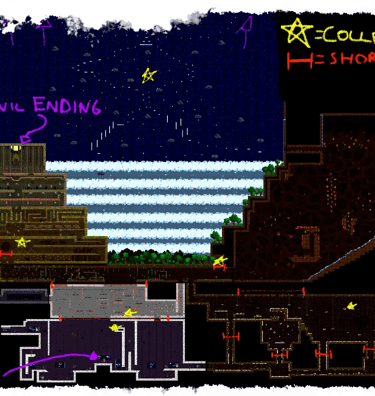
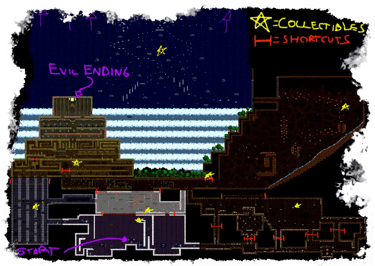

The Map
Shortcuts can save time or waste it if you fall back. Players choose: preserve lives and retry safely, or spend health on a checkpoint to keep momentum.


Final Boss Fight
The three endings reward players by unlocking Hard Mode, Classic Mode, and visual filters.
Every game area features its own original soundtrack, with the boss fight having a unique track for each phase.
The game also includes 22 achievements, covering modes, endings, and speedruns, most of them playful references to other games.
The options include a Noob Mode with unlimited lives, auto-run, and a cosmetic red crown, alongside major language settings for accessibility.


Check out the other games
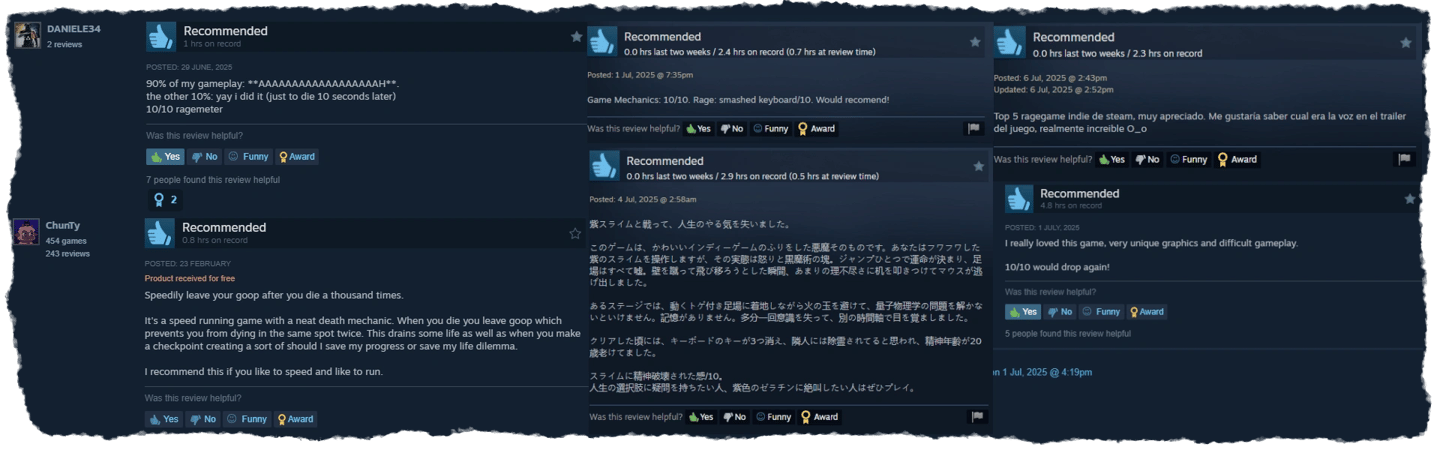
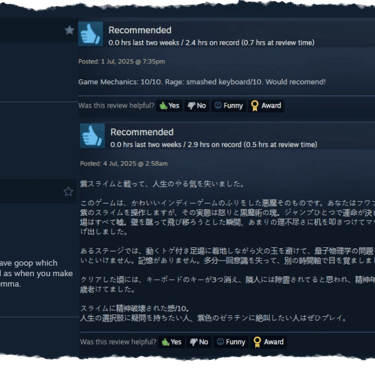
Best Player Reviews